
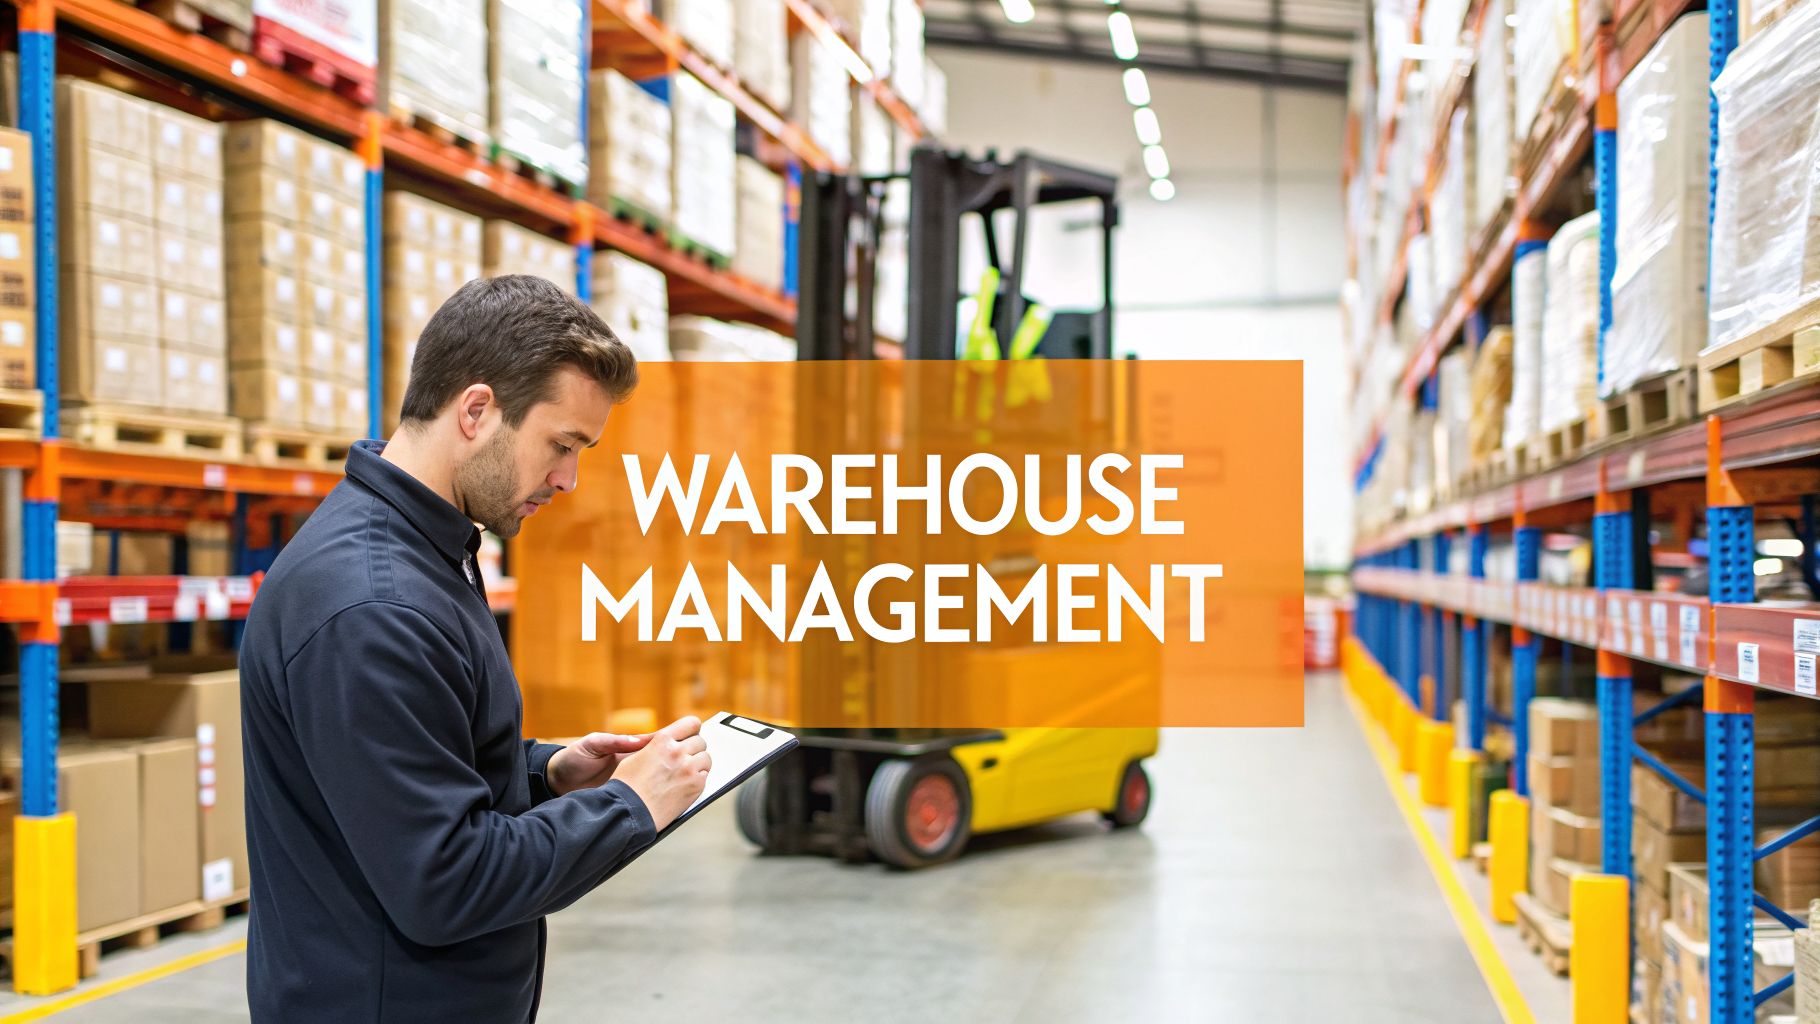
So, what exactly is warehouse management? It’s not just about stacking boxes in a storage unit. Think of it as the complete, strategic system you use to run your inventory, space, and team. It's every process that controls how your products move, from the moment they hit your receiving dock until they’re in a customer's hands.
What Is Warehouse Management in E-commerce?
Let's use an analogy. Imagine running a busy restaurant kitchen during the dinner rush. You're not just storing food. You have a system for receiving fresh ingredients, organizing them for quick access, prepping dishes perfectly (picking and packing), and sending them out to eager diners without a single mistake.
If one part of that system breaks down, the whole experience is ruined. For your e-commerce brand, your warehouse is that kitchen. Solid warehouse management is the engine that keeps your fulfillment running smoothly, ensuring every order is accurate and on time.
More Than Just Storage
A lot of sellers think warehouse management is just about finding a place to keep their products. But that’s a huge misconception. Storage is only a tiny piece of the puzzle. The real goal is to turn your warehouse into a lean, mean, order-fulfilling machine that’s optimized for speed, accuracy, and cost.
True warehouse management transforms a static storage space into a dynamic fulfillment hub. The focus shifts from merely holding inventory to enabling the rapid and accurate flow of goods, directly impacting customer satisfaction and profitability.
It's about managing the entire journey of your inventory while it's inside your four walls. You can dive deeper into how this connects to your overall business strategy by exploring the relationship between supply chain and warehouse management. This approach ensures every single step, from receiving to shipping, is executed with precision.
The Core Components of Warehouse Management
A well-run warehouse isn't a happy accident; it’s built on a few fundamental components that all have to work together. Getting these right is what separates a smooth operation from a chaotic one.
This table breaks down the fundamental jobs that make up any effective warehouse operation.
| Component | Description |
|---|---|
| Receiving | Checking in new inventory, verifying quantities and quality, and getting it ready for storage. |
| Put-Away | The process of moving received goods from the dock to their designated storage location. |
| Storage | Strategically organizing inventory in a way that maximizes space and makes picking fast and easy. |
| Picking | Retrieving the correct items from their storage locations to fulfill a customer order. |
| Packing | Preparing and packaging the picked items securely for shipment, including adding any marketing inserts. |
| Shipping | Labeling the package, generating a shipping label, and handing it off to the right carrier. |
When you get these six steps right, you have a solid foundation. From there, you can focus on optimizing each one for even better performance.
The Six Core Processes of Modern Warehousing
So, we've talked about what warehouse management is in theory. But what does it actually look like on the ground? It all breaks down into six core stages that every single product moves through.
Think of it like a relay race. Each stage is a runner, and the product is the baton. A sloppy handoff at any point—a delay, a mistake, a dropped baton—and the whole operation slows down, costing you time and money. For any e-commerce brand, mastering these six steps is non-negotiable for fast, accurate fulfillment.
This infographic boils it all down to the three main phases that are the true backbone of your fulfillment operation.

As you can see, every product's journey starts with Receiving, moves into Storage, and ends with Shipping. Let's break down exactly what happens at each step.
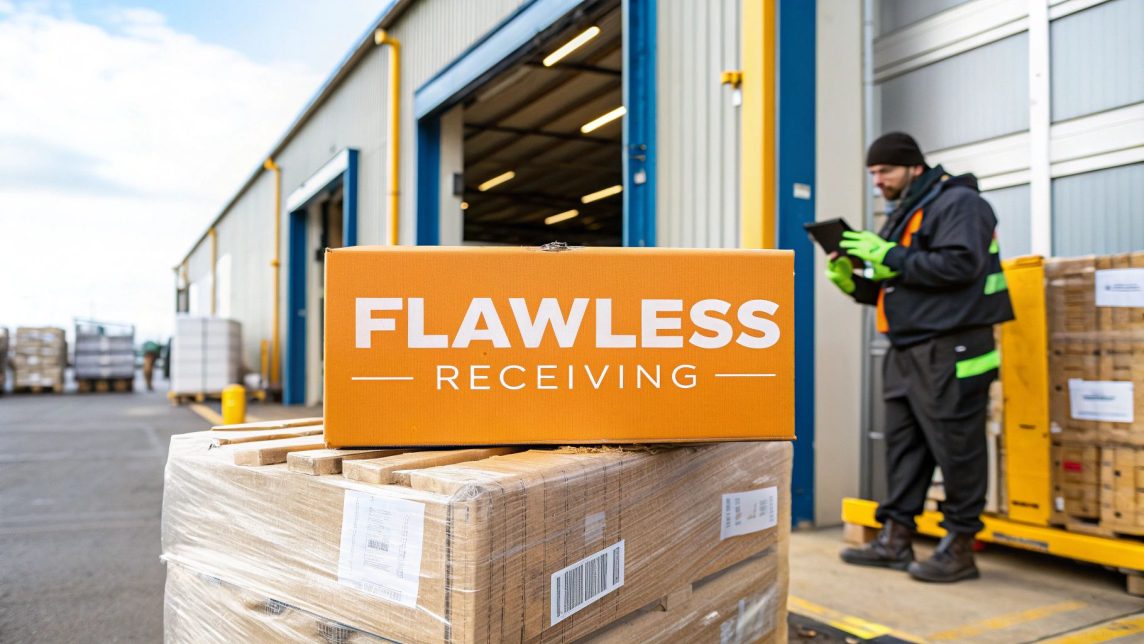
1. Receiving
This is where it all begins—the moment your inventory hits the warehouse dock. Receiving is your first, and best, chance to stop problems before they start. It's way more than just taking boxes off a truck.
A solid receiving process means your team is meticulously checking the new inventory against the purchase order (PO). Are these the right SKUs? Is the quantity correct? Is anything damaged from transit? A mistake here is a guarantee of a headache later.
Imagine you ordered 100 red shirts, but the supplier sent 100 blue ones. If your receiving team doesn't catch it, those blue shirts get logged into your inventory as "red." When customers start ordering red shirts, your pickers will find the wrong product, leading to order delays, angry customers, and a massive inventory mess.
2. Put-Away
Once your inventory is checked in and verified, it needs a home. Put-away is the process of moving those products from the receiving dock to their designated spot in the warehouse. This is where efficiency really kicks in.
If put-away is slow or disorganized, your inventory just sits on the dock, creating clutter and making it unavailable for sale. The goal is to get items into their storage bins and ready to be picked as fast as possible. In a modern warehouse, a Warehouse Management System (WMS) tells the team exactly where to put each item for maximum efficiency.
3. Storage
Storage isn't just about finding an empty shelf. It's the art and science of organizing your inventory to make the best use of your space and, more importantly, to make it fast and easy to grab those products when an order comes in.
There are two main strategies here:
- Fixed Location Storage: Simple and straightforward. Every SKU gets its own permanent spot. This works well if you have a small, predictable product catalog, but it can waste a lot of space if certain spots are often empty.
- Chaotic Storage (Dynamic Storage): This sounds messy, but it’s incredibly efficient. Items are put into any open, available spot. A WMS keeps track of where every single item is, so pickers can always find what they need. This method maximizes every square inch of your warehouse and is perfect for businesses with a large, rotating inventory.
Storing products isn't a passive activity; it's an active strategy. The way your inventory is organized directly impacts picking speed, which in turn dictates how fast you can get orders out the door. A well-organized warehouse is a fast warehouse.
Choosing the right method is key. A small coffee roaster might be fine with fixed locations. But a 3PL like Snappycrate, which handles thousands of different SKUs for dozens of brands, relies on a chaotic system to stay flexible and efficient.
4. Picking
Picking is exactly what it sounds like: grabbing items from their storage locations to fulfill customer orders. It’s often the most labor-intensive part of the entire process, making up as much as 55% of all warehouse operational costs. Optimizing your picking is one of the fastest ways to improve your bottom line.
Here are a few common strategies to make picking faster:
- Batch Picking: A picker grabs all the items needed for a "batch" of multiple orders in a single trip through the warehouse. Less walking, more picking.
- Zone Picking: The warehouse is split into zones, and each picker stays in their assigned area. Orders are passed from one zone to the next like an assembly line until they're complete.
- Wave Picking: This is a hybrid approach. All orders scheduled for a specific time window (a "wave") are picked at once, with multiple pickers often working in different zones to get it all done quickly.
Choosing the right strategy can have a massive impact on how many orders you can get out the door each day.
5. Packing
Once all the items for an order are picked, they land at the packing station. This step is critical for both protecting your products and delivering a great brand experience.
The packer’s job is to choose the right-sized box, add the right amount of dunnage (like bubble wrap or air pillows) to keep things safe, and seal it all up securely. This is also the last chance for a quality check—verifying the items against the packing slip to ensure the order is 100% correct.
Plus, this is where you can add a personal touch. Branded tape, a thank-you note, or a marketing insert can make the unboxing experience memorable and help you stand out.
6. Shipping
The final handoff. At the shipping station, the packed box gets weighed, a shipping label is printed, and the package is given to the right carrier (like UPS, FedEx, or USPS).
Modern shipping management involves more than just printing a label. It includes "rate shopping"—automatically comparing carrier prices in real-time to find the cheapest service that still meets the customer's delivery promise. Once the package is on the truck, tracking information is automatically sent to the customer, closing the loop and giving them peace of mind.
The Digital Brain of the Operation: Your WMS
If the six core processes are the muscle of your fulfillment operation, then a Warehouse Management System (WMS) is the brain that makes every move happen. It’s the command center connecting everything—from the receiving dock to the shipping station—and making sure it all works together perfectly.
Think of it like an air traffic control tower. Without that tower, a busy airport would be a mess of confusion, delays, and potential disasters. A WMS is that control tower for your inventory, giving you total visibility and directing every product and person with absolute precision.

This is the software that separates a modern, efficient warehouse from an old-school operation running on spreadsheets and clipboards. It automates your data, cuts down on human error, and gives you a real-time, bird's-eye view of everything going on inside your four walls.
How a WMS Powers Your Warehouse
A WMS isn't just a fancy database; it's an active player in your day-to-day operations. It uses smart logic and live data to make your warehouse faster and more accurate at every single step.
Here’s how it completely changes the game for the core processes we’ve already covered:
- Receiving: When a shipment arrives, a worker scans the barcode. The WMS instantly checks it against the purchase order, flags any problems, and makes the inventory available for sale. No manual counting or guesswork.
- Put-Away: The system doesn’t just track where an item is. It tells the employee exactly where to put it—the most efficient spot based on rules you set. For example, it might direct fast-moving products to a location right next to the packing stations.
- Picking: Instead of wandering the aisles with a paper list, a picker gets instructions on a handheld scanner. The WMS maps out the most efficient path through the warehouse to grab all the items for an order, or even a whole batch of them.
This kind of digital direction gets rid of the guesswork and makes your team incredibly productive. Your workers can move with confidence, knowing they are always in the right place, grabbing the right product.
Unlocking Total Inventory Visibility
Honestly, one of the most powerful things a WMS does is create a single source of truth for your inventory. It tracks every single unit from the second it enters the building to the moment it leaves, giving you complete, real-time visibility.
A Warehouse Management System is what allows you to build a proactive fulfillment strategy. It helps you stop just reacting to orders and start strategically managing your inventory, labor, and space with data you can actually trust.
This means you know exactly how many units of a SKU you have, where every single one is, and what its status is right now. That kind of real-time accuracy is what prevents stockouts, lowers your carrying costs, and makes sure the inventory levels on your e-commerce store are always correct. If you're selling across multiple channels, you might want to check out our guide on real-time inventory management software to see how this works in practice.
The proof is in the numbers. The global WMS market was valued at USD 3.38 billion in 2025 and is projected to hit USD 3.99 billion in 2026. This huge growth—expected to continue at an annual rate of 21.9% through 2033—tells a clear story: a WMS is no longer a luxury. It’s essential infrastructure for any competitive e-commerce business. You can read the full research about the expanding WMS market on grandviewresearch.com.
For any growing e-commerce brand, implementing a WMS or partnering with a 3PL that uses a top-tier one isn't just a good idea—it's a non-negotiable step toward scaling successfully.
Boosting Efficiency with Automation and Robotics
If a Warehouse Management System (WMS) is the digital brain of your operation, then automation and robotics are the powerful muscles. This is where modern warehouse management gets really exciting. It’s where physical hardware works hand-in-hand with smart software to create an order fulfillment machine that is faster, stronger, and more accurate than ever before.
Think of it like this: the WMS is the coach calling the plays from the sideline. The automation—everything from simple conveyor belts to intelligent robots—are the star players on the field, executing those plays with perfect precision. Your WMS points the way, and the robotics get it done, moving inventory with incredible speed.

When this digital intelligence and physical machinery come together, every core process gets a massive upgrade, pushing the boundaries of what’s possible in fulfillment.
The Spectrum of Warehouse Automation
Here's the good news: automation isn't an all-or-nothing game. Even small, smart upgrades can deliver a huge return on efficiency. The technology exists on a spectrum, from foundational tools that help a little to highly advanced systems that change everything.
Here’s a look at some of the most common technologies you'll find in a modern warehouse:
- Barcode Scanners and Conveyors: These are the basics. Scanners are what connect your physical inventory to your WMS, and conveyor belts cut down on manual transport by moving goods between different work zones automatically.
- Pick-to-Light Systems: These systems are brilliantly simple. Lights guide pickers directly to the right item and then display the exact quantity they need. This one visual cue dramatically cuts down on picking errors and wasted search time.
- Autonomous Mobile Robots (AMRs): This is where automation gets truly powerful. Instead of having workers walk miles of aisles every day, AMRs bring the shelves directly to them. This "goods-to-person" model flips the traditional picking process on its head and can supercharge picking rates.
This stuff isn't science fiction anymore; it’s quickly becoming the standard in high-performance warehouses. The impact is so significant that it's projected 4.7 million commercial warehouse robots will be installed across more than 50,000 warehouses globally by 2026.
Automation fundamentally changes the math of fulfillment. It allows a warehouse to multiply its output without multiplying its labor costs, turning operational efficiency into a true competitive advantage.
This shift isn’t just about adding cool robots; it’s about completely redesigning workflows to eliminate wasted movement and squeeze every drop of productivity out of the system. The result is a warehouse that works smarter, not just harder.
The Real-World Impact of Automation
The numbers behind warehouse automation tell a pretty compelling story. Businesses that embrace these technologies see dramatic improvements across the board. They often achieve 25–30% reductions in labor costs, can fulfill orders up to 300% faster, and see accuracy rates climb to nearly 99%. You can dig into more warehouse automation statistics and see how companies are getting these results on sellerscommerce.com.
Let's be realistic, though. For most growing e-commerce sellers, building an automated warehouse from scratch just isn't feasible because of the massive capital investment required. This is where partnering with a tech-forward 3PL like Snappycrate becomes a powerful strategic move.
By working with an automated 3PL, you get to plug directly into this advanced infrastructure without the crippling upfront cost or operational headaches. It allows you to tap into the speed, accuracy, and cost savings of robotics, giving your brand the kind of fulfillment power that was once only available to major corporations. You can finally compete on speed and service, not just on your products.
Measuring What Matters with Key Performance Indicators
You’ve got your processes and technology in place, but how can you be sure your warehouse is actually performing well? If you don't measure it, you can't improve it. This is where Key Performance Indicators (KPIs) come into play—they’re the vital signs that show you the true health of your fulfillment engine.
Think of your warehouse like a high-performance race car. The processes are the engine, and the WMS is the onboard computer. KPIs are the gauges on your dashboard—the speedometer, fuel level, and engine temp—telling you exactly how everything is running. Without them, you’re just driving blind and hoping for the best.
Let's break down the essential KPIs every e-commerce seller should be tracking.
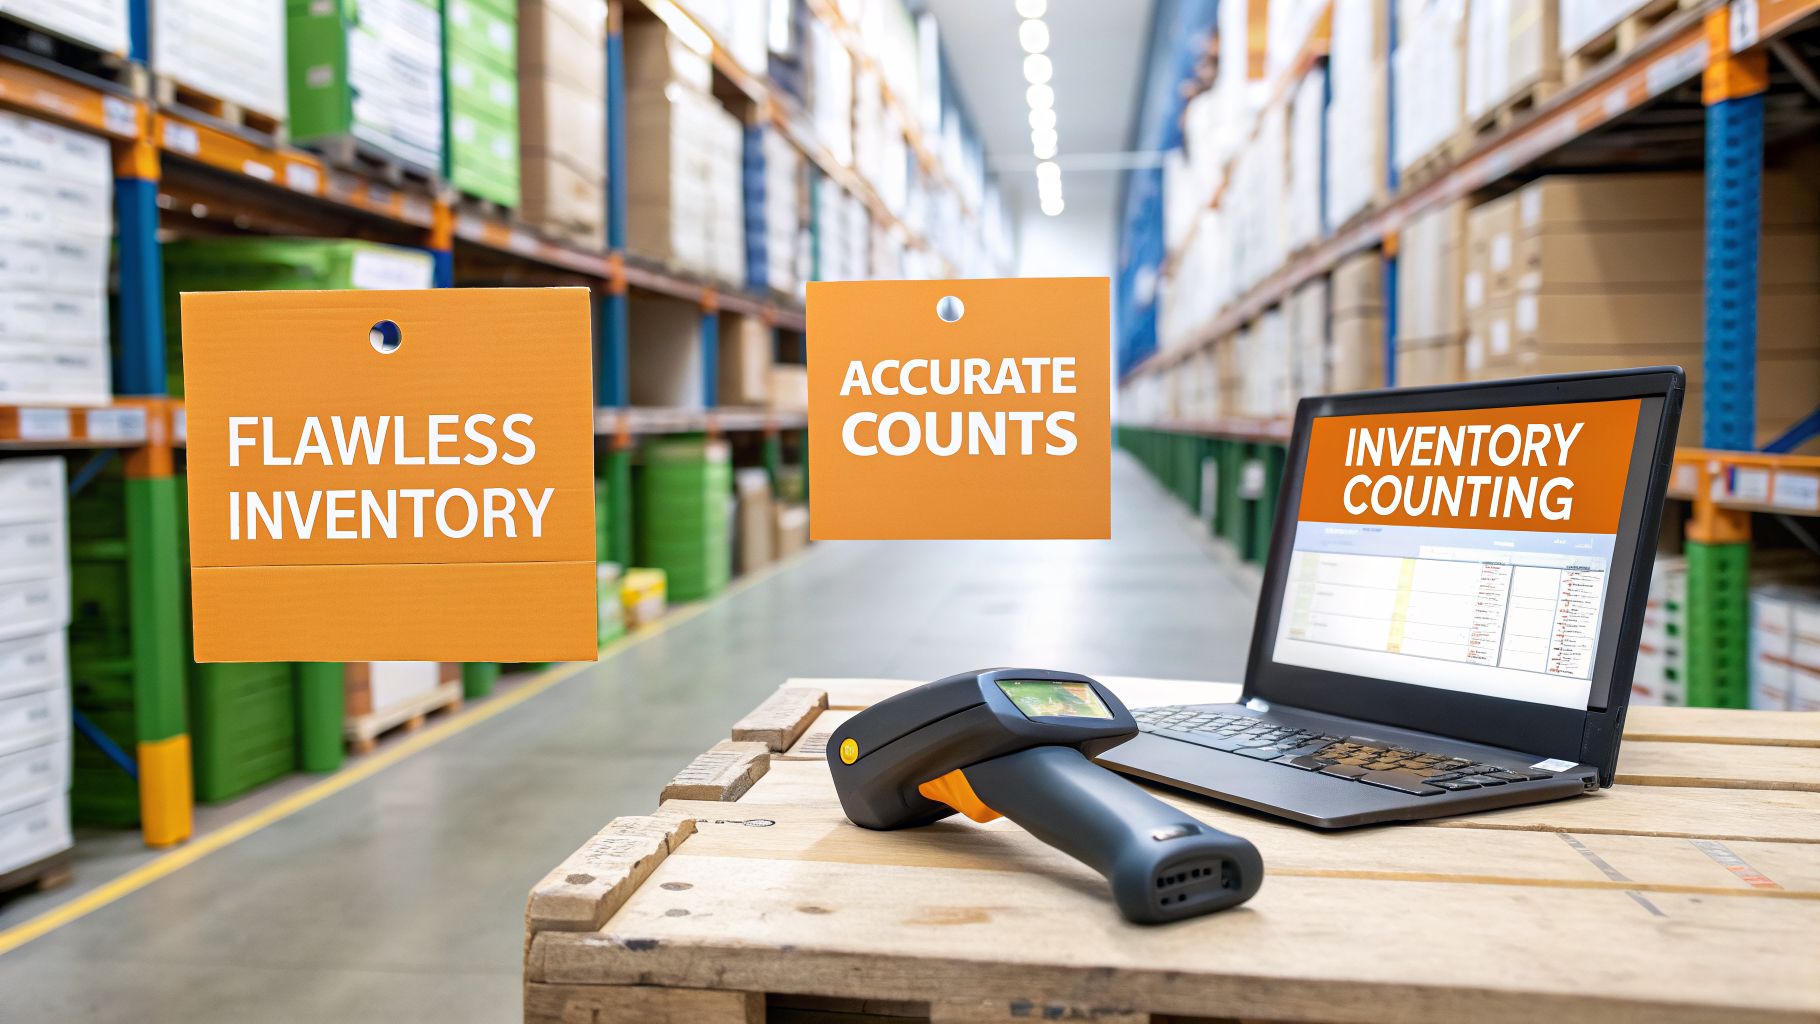
Inventory Accuracy
This is the bedrock metric for your entire operation. It measures the difference between the inventory your WMS thinks you have and the actual, physical stock on your shelves. A low score here is a major red flag.
- What It Tells You: A high inventory accuracy rate—ideally 99% or better—means your receiving, put-away, and picking processes are dialed in. A low rate points to serious issues like theft, receiving errors, or misplaced products, which directly cause stockouts and overselling.
If your inventory numbers are consistently off, it creates a ripple effect of problems that can sink your business, from unhappy customers to wasted ad spend on out-of-stock items.
Order Fill Rate
Also known as order accuracy, this KPI tracks the percentage of orders you ship completely and correctly on the first try. It’s a direct reflection of your ability to meet customer promises.
A high order fill rate isn’t just a number; it's a direct measure of customer satisfaction. Getting it right every time builds trust and loyalty, while every wrong shipment actively damages your brand’s reputation.
To hit those high accuracy marks, many modern warehouses are turning to technology. Digging into how strategic industrial automation solutions can sharpen these processes is key to unlocking operational excellence and driving KPIs like fill rate even higher.
Order Cycle Time
This KPI tracks the total time it takes from the moment a customer clicks "buy" to the moment their order is on a truck. It’s a critical measure of your warehouse’s speed and efficiency. In the world of e-commerce, shorter cycle times are a massive competitive advantage.
A long cycle time could point to several bottlenecks:
- Slow order processing in your system.
- Inefficient picking routes or strategies.
- Delays piling up at the packing or shipping stations.
By tracking this metric, you can pinpoint exactly where your fulfillment process is hitting a snag and take targeted action to fix it.
Cost Per Order
Finally, this KPI ties everything back to your bottom line. It calculates the total warehouse operational cost—labor, supplies, and facility overhead—associated with fulfilling a single order.
- What It Tells You: This metric reveals the financial efficiency of your entire operation. A high cost per order might mean you have inefficient labor, are wasting packing supplies, or aren't making good use of your warehouse space.
To help you get a handle on these metrics, we've put together a quick-reference table of the most important KPIs.
Essential Warehouse Management KPIs at a Glance
| KPI | What It Measures | Importance for E-commerce Sellers |
|---|---|---|
| Inventory Accuracy | The variance between your recorded inventory (in the WMS) and your actual physical inventory. | Prevents overselling and stockouts, ensuring the products listed online are actually available. High accuracy is crucial for customer trust and reliable forecasting. |
| Order Fill Rate | The percentage of orders shipped completely and correctly without any errors (wrong items, quantities, or damages). | A direct indicator of customer satisfaction. A low rate leads to returns, negative reviews, and lost customers. A high rate builds brand loyalty. |
| Order Cycle Time | The total time from when an order is placed by a customer to when it is shipped from the warehouse. | Measures fulfillment speed. In the age of Amazon Prime, customers expect fast shipping. Shorter cycle times are a key competitive advantage. |
| Cost Per Order | The total warehouse cost (labor, supplies, overhead) divided by the number of orders shipped. | Reveals the financial efficiency of your fulfillment. Tracking this helps you control expenses, protect your profit margins, and identify operational waste. |
Tracking these four KPIs gives you a clear, data-driven picture of your warehouse’s performance. They turn the abstract idea of "good fulfillment" into concrete numbers, empowering you to make smart decisions that cut costs, drive growth, and keep your customers coming back.
How a 3PL Partner Unlocks Your Growth Potential
Let's be honest. Everything we've covered—the processes, the systems, the metrics—points to one simple truth: running a warehouse is a full-time job. For most e-commerce sellers, it quickly becomes a massive bottleneck, stealing time and energy away from what you do best: developing products, marketing your brand, and talking to your customers.
This is exactly where a third-party logistics (3PL) partner changes the game.
Working with a specialized 3PL like Snappycrate lets you tap into a world-class fulfillment operation without the astronomical upfront cost. You instantly get the optimized warehouse space, expert staff, and advanced WMS technology that would take years and a huge investment to build yourself. It’s a shortcut past all the expensive trial-and-error.
From Daily Grind to Effortless Growth
The real value of a 3PL is how it frees you from the daily operational grind. Instead of worrying about pick rates and packing tape, you can finally put all your focus back on growing your business.
Think about these common headaches that a good 3PL partner solves immediately:
- FBA Prep and Compliance: Sending inventory to Amazon is a minefield of rules. A 3PL that specializes in FBA prep handles all the tedious details—FNSKU labeling, poly bagging, bundling, and inspections—to make sure your inventory gets checked in at Amazon without delays, penalties, or rejections.
- Multi-Channel Fulfillment: Selling across Shopify, Walmart, and your own site? A 3PL integrates all your channels, managing inventory from a single, unified pool. This prevents you from overselling and makes expanding to new marketplaces feel simple, not chaotic.
A 3PL turns warehouse management from a costly, time-consuming liability into a flexible, on-demand service. It’s the engine that lets your business grow as fast as you want, without being dragged down by the weight of logistics.
By handing off these complex jobs, you’re not just saving time—you’re gaining a dedicated partner whose only goal is to get your orders out the door quickly and accurately.
An Expert Partner for a Global Market
The demand for sharp, efficient logistics is only getting bigger. While North America leads the WMS market today, the Asia-Pacific region is growing explosively. This worldwide e-commerce boom is expected to push the number of warehouses globally to 180,000 by 2026. At the same time, cross-border sales are set to jump 15–20% each year. You can dive deeper into these global warehouse and e-commerce trends at hdinresearch.com.
Trying to keep up with all that on your own is a monumental task. A 3PL gives you the stability and expertise to compete, turning global supply chain pressures into an opportunity. To see exactly how that relationship works, take a look at our guide on what a 3PL warehouse provides.
Ultimately, working with a 3PL isn’t just about outsourcing your shipping. It’s about getting your freedom back and unlocking your brand’s true potential to grow.
Frequently Asked Questions About Warehouse Management
Even after you get the hang of the basics, real-world questions always pop up. We hear these all the time from growing e-commerce brands, so let's tackle the big ones head-on to help you navigate your logistics.
When Should I Switch from Self-Fulfillment to a 3PL?
There’s no magic number, but the signs are usually crystal clear. You've probably hit the tipping point when you’re spending more time taping boxes than growing your business.
Look for these signals: your daily order volume is consistently hitting 10-20+ orders per day, you’re tripping over inventory in your garage or office, and fulfillment is eating up hours you should be spending on marketing or product development. A 3PL lets you hand off the logistics chaos so you can get back to what you do best.
What Is the Difference Between a Warehouse and a Fulfillment Center?
It’s easy to use these terms interchangeably, but they serve very different roles. Think of a traditional warehouse as a place for long-term storage—a holding pen for inventory that isn’t needed right away.
A fulfillment center, on the other hand, is built for speed. It’s a highly active hub designed to get online orders out the door as fast as possible. The entire layout and workflow prioritize efficient picking, packing, and shipping. Most modern 3PLs, including us, operate as fulfillment centers.
A key part of the 3PL partnership is trust and risk management. When choosing a partner, understanding their insurance coverage is vital for protecting your assets. It’s worth taking time to delve deeper into the specifics of 3PL insurance to ensure your inventory is secure.
How Does a 3PL Handle Amazon FBA Prep?
A 3PL that specializes in FBA prep acts as your expert compliance team. Instead of you trying to keep up with Amazon’s ever-changing rules, the 3PL does it all for you.
They receive your bulk inventory, inspect it, and perform all the tedious tasks required to meet Amazon’s strict standards. This includes:
- Applying FNSKU labels correctly
- Poly bagging loose items or apparel
- Creating product bundles or multi-packs
- Building and palletizing shipments for freight
This professional prep is your ticket to avoiding costly delays, rejections, and non-compliance fees at Amazon’s fulfillment centers. It keeps your products checked in and available for sale, protecting your momentum.
Ready to stop worrying about logistics and start focusing on growth? Snappycrate provides the expert fulfillment and FBA prep services you need to scale your e-commerce brand. Get your free quote today.


